Sunroof Maintenance - How To

Disclaimer: Links on this page pointing to Amazon, eBay and other sites may include affiliate code. If you click them and make a purchase, we may earn a small commission.

NIckS

Member
Joined
Dec 7, 2020
Posts
9
Reaction score
9
Location
sc
I tackled my sunroof yesterday, cleaning and lubing it. I’ve seen too many threads on expensive sunroof repairs or complaints about creaking and I figured I’d get ahead of those issues by taking the steps recommended by Ford. I had some sticky ness at times and did not want to break one of the plastic tracks.


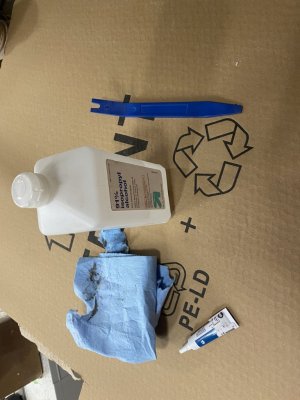
I used:
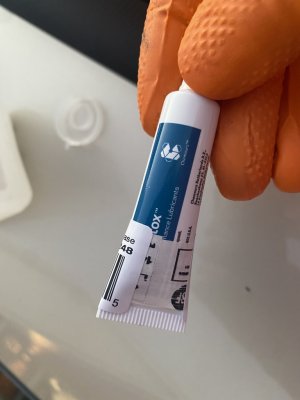
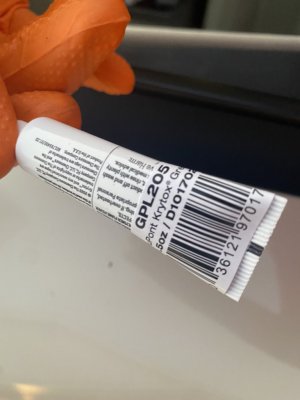
  • Krytox GPL 205
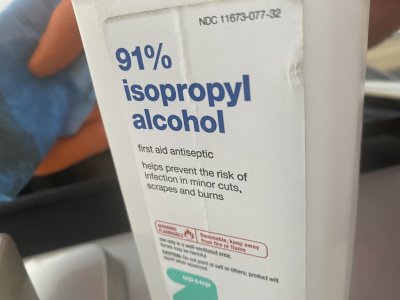
  • Isopropyl Alcohol
  • Shop rags
  • Trim removal tool
I started by soaking a shop rag in isopropyl alcohol and cleaning all surfaces that interact with the rubber gasket and the rubber gaskets itself.
I opened the Sunroof all the way to reach the front of the seal and then put it into the vent position to reach the backside of the opening.

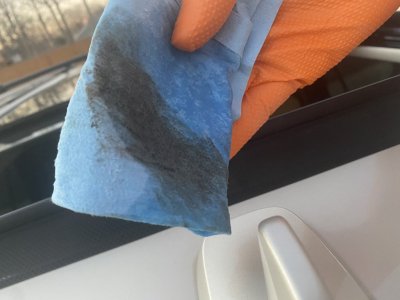
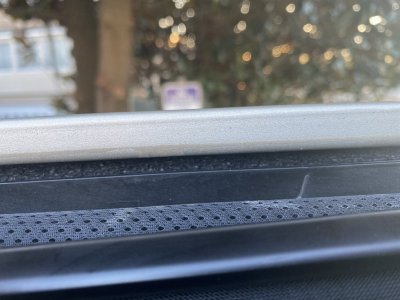
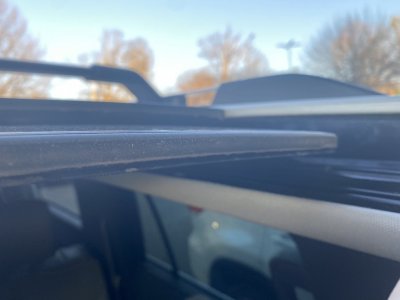
This is how dirty the seal and surrounding area were: AC8D5DE1-0772-458D-ACA2-1C3745D720E3.jpeg

B149E00B-4CCD-4D7B-B587-83331768C450.jpeg

519237FD-3BE3-44E5-9AEC-1E6CA9CF60B0.jpeg
This is just from the front facing seal on the glass side and roof side.

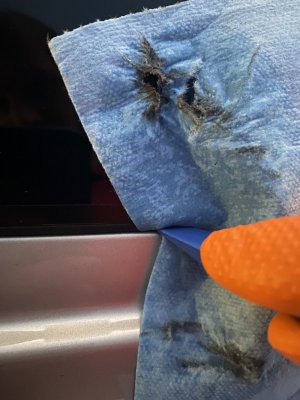
I did the same thing for the seal surrounding the fixed glass but here I used a slim trim removal tool to get into the seam.
53BE29E4-77D0-4550-BE5D-C064E7F0B3A7.jpeg

After everything was as clean as I could get it I put small amounts of Krytox on the tip of my finger and applied it to the seal. The small tube of Krytox was about $25 but it should last a couple of years if you do this procedure yearly, not a lot is needed to lubricate the seals.

I used the blue trim tool to shove small drops of Krytox down the seal on the painted roof side and spread it as best I could until I didn’t feel much resistance anymore. In the beginning I felt a lot of grittiness and moving the tool around it seemed to stick here and there. Once everything was lubed up I was able to slide the plastic trim tool freely between the seal and the paint.
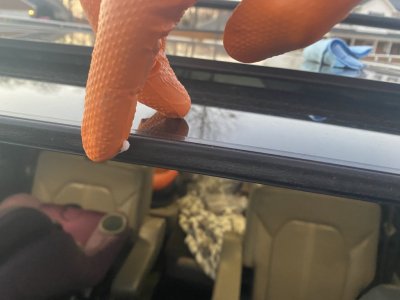
467EDDA9-6E07-44EE-960B-9B024D3BB3DE.jpeg
 
Last edited:

Going_Going_Gone

Full Access Members
Joined
Aug 31, 2018
Posts
495
Reaction score
246
Location
Phoenix
Somewhere there's also a YouTube video on this. In that one, and in addition to cleaning and applying Krytox, it was also shown how to address the fixed glass portion of the roof glass o prevent it squeaking on twisty surfaces using 3-in One Dry Window Lube and a dull edge to allow penetration between the seal and the metal roof. After I saw that, I splurged for both, and applied as shown. If mine fails, or even squeaks, it won't be from a lack of prevention on my part.
 

5280tunage

Full Access Members
Joined
Sep 17, 2019
Posts
1,508
Reaction score
880
Location
colorado
First, great write up, thank you for taking the time to do this.

The more I read this, I wonder, does anyone have a factory service procedure for these? These suggestions are great, but at least in my climate, dust is more common than water. With that, too much lubricant can cause more issues over time. In my previous vehicles they had specific places you were supposed to put lubricant and only there. In general, it was only on rotational/moving parts. I generally used mobile1 synthetic axle grease due to its extreme water resistance.

Wouldn't it be nice of the seals/gaskets were silicone instead of rubber or foam? Last much longer and require nearly no lubricant (except were friction exists).
 
OP
OP
N

NIckS

Member
Joined
Dec 7, 2020
Posts
9
Reaction score
9
Location
sc
Krytox is a Teflon based lubricant and doesn’t actually attract dirt and dust, I am sure that’s part of why it is so expensive
 

Fozzy

Full Access Members
Joined
Sep 5, 2019
Posts
1,200
Reaction score
1,159
Location
Riverton
You should also make sure your sunroof track drain is free and clear while your at it. They are in the front corners of the track. You may have to push the wind screen down to see them. Pour a little water down them to make sure they are draining freely.


Sent from my iPhone using Tapatalk
 

bryz_expy

Well-Known Member
Joined
Sep 27, 2020
Posts
65
Reaction score
20
Location
Denver, CO
Old thread, but thank you very much for the write up and the link to the Ford procedure.
I had purchased the Krytox several months ago and procrastinated doing this job.
My Expedition was creaking like the hull of a ship! I spent maybe 30 min using the steps outlined here.
I could have maybe done it quicker, but just taking my time to clean and clean again. Vacuumed out the channels as well as there was dirt and some evidence of dried old leaves
My Scott white shop towels left a little bit of lint so after cleaning I used some painters tape to quickly pull up the lint and leave the seals lint free. Next time I may use blue shop towels or something without the tendency to leave lint.

I applied as instructed in this thread, and I used an old credit card to get in between the metal body and seal for the rear stationary glass. I feel like that I could get this cleaner with a better tool and also a better way to apply the Krytox more easily. I know the OP used a trim tool that I also have, but thought the credit card would be less intrusive to the seal. It has a little more give than I thought it would.

End result is NIGHT AND DAY! So quiet! I am mad at myself for delaying doing this job. Quick and easy job, with satisfying results.
Time may tell when I will need to do this again. Maybe an annual job, I think I might have enough Krytox in the tube for one more application. I did see mention of a Dry 3-1 but I'm wondering how that would hold up to the temperature extremes. There's a reason this Krytox is so expensive. $24 on Amazon.
 
Top